Free-ish DIY centerpieces
When I first started working with the youth at my church, I knew I would be putting on fundraisers for mission trips. I’ve added a fair-trade/local vendor market to our fundraising events, in addition to a yearly silent auction (run by a wonderful volunteer!) and a spaghetti lunch (my 6am sauce-making-in-the-church-kitchen playlist echoes through the halls once a year). What I didn’t know about these adventures, was that people like things to be decorated.
Designing spaces and decor is not my gift, but I do enjoy a good free-ish challenge! And I love getting the youth involved in this part of the preparation. We try to use simple eco-friendly materials and not to rely on plastic stuff, and I’ve been surprised by how fun these have been to make, and how well they’ve been received. In the past year, we started covering the tables in butcher paper instead of plastic table clothes and adding piles of crayons everyone for doodling. In my experience, adults look for reasons to color, and so that’s been a big hit as well. We haven’t mastered the art of covering the tables quickly/efficiently with the butcher paper, but I have some ideas for future years up my sleeve.
For center pieces though, these are my top three finds/creations:
Dyed Spaghetti Noodles in Jars
I have young kids, but I’d never dyed pasta before! Who knew it was so easy and pretty, and perfect for a Spaghetti lunch (or dinner) fundraiser! We used different types of long noodles, but short noodles would give some nice texture to the jars. I considered breaking some of them up for a confetti look at the bottom of the jar, but concluded that we wouldn’t have enough. We also used my stash of mason jars for display, but you could use any kinds of jars you can find…maybe even (clean, glass, label-less) jars from spaghetti sauce for the event.

For this project, you need: dry noodles, food coloring (gel or traditional), rubbing alcohol (70% concentration is important!), gallon plastic bags (one per color), jars, a large newspapered surface
I couldn’t figure out how to avoid using the plastic bags this go around (alas!), but at least the rest of the project is pretty eco friendly! To dye the noodles, pour a couple of tablespoons of the alcohol into a plastic bag and add a few drops of food coloring. Squish it around until it forms a dye (you can - and may need to - add more later). Add noodles and squish them around until they are saturated in the color, adding noodles or alcohol/food coloring until the noodles are covered and there isn’t a large puddle of dye left in the bag. Let them sit for 10 minutes or so, and then remove them from the bag and separate them out on the newspaper to dry.
I had two different bottles of alcohol, but we found that the 90% concentration didn’t blend well with the dye, so we had to add some water. The color turned out well, but the noodles stuck together in clumps when drying, which was annoying.
We did 6 colors and the youth were able to do all of it themselves, including the color mixing/coordinating for our Fall event.

One thing I like about this project is that the noodles easily repurpose as craft supplies. I saved them and later did a devotional art piece reflecting on Matthew 6 and made whimsical flowers with my daughter (lilies of the field). We would have done this together in youth group but #pandemic.
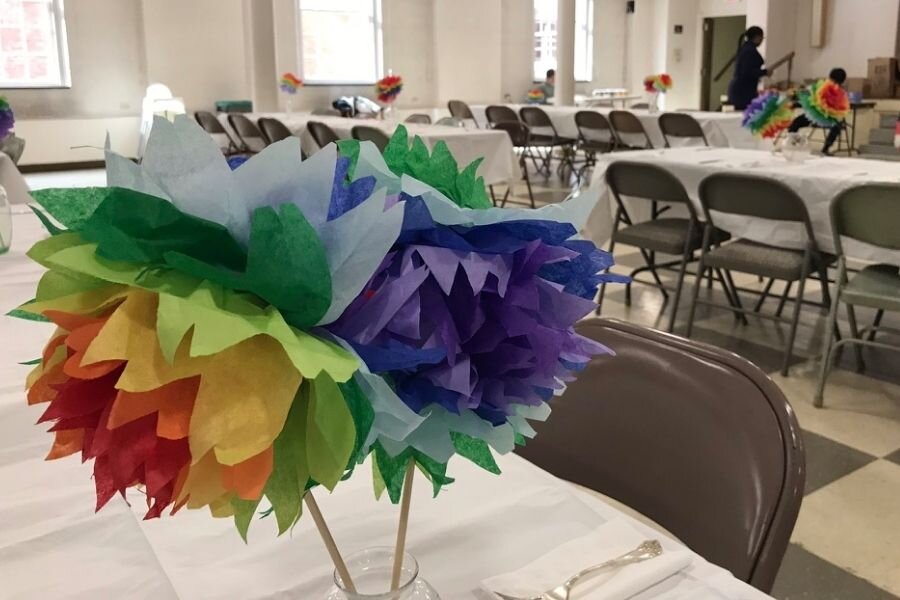
Rainbow Pom Pom Flowers
Tissue paper isn’t free, but these poms last a long time and bring a lot of rainbow cheer to any space. Of course, you don’t need to rainbows, but in 2017, our big Fall event coincided with the anniversary of our church becoming a reconciling congregation, officially joining the ranks of United Methodists who seek full inclusion of LGBTQ+ persons into the life and leadership of the church. We made rainbows to honor that anniversary.

Materials you’ll need: wood or bamboo skewers, lots of tissue paper, yarn, scissors, jars or vases
To make the pom poms, cut the tissue paper into the desired size - we did a mix of sizes, but a full size sheet of paper was way too big for these! Half sheet worked well, though squar-ish is the ideal shape. For each flower, lay the sheets of paper on top of each other in your desired color order; we did one sheet of each color. Make sure to vary the starting color and the order of your colors so you get some variation in the final product! Starting from one side, accordion fold the paper in 1 inch folds until you reach the end and have a long thin rectangle. Fold it in half so that the short ends touch and tie a ribbon or piece of yard on the fold to keep everything together (buddies help). Use the scissors to trim the open ends of the rectangle. You can trim it to a point or in a smooth curve; both produce good results. Now, you fluff!
Gently, but also firmly (it took me a bit of practice), separate the sheets of tissue paper, one at a time so that you end up with a fluffy flower. Fluff it out so that you can’t see the yarn holding the middle together. When you’re happy with the shape, poke it with a skewer! Make sure the skewer goes through the middle of the flower, where the yarn is, or else it the flower will just slide down and look very sad. If that happens, you can wrap a rubber band around the skewer close to the top, which should keep the flower more secure so you don’t have to keep poking it.
My youth completed these with varying levels of success, but they all looked great in the end; and the congregation loved that they were obviously homemade.
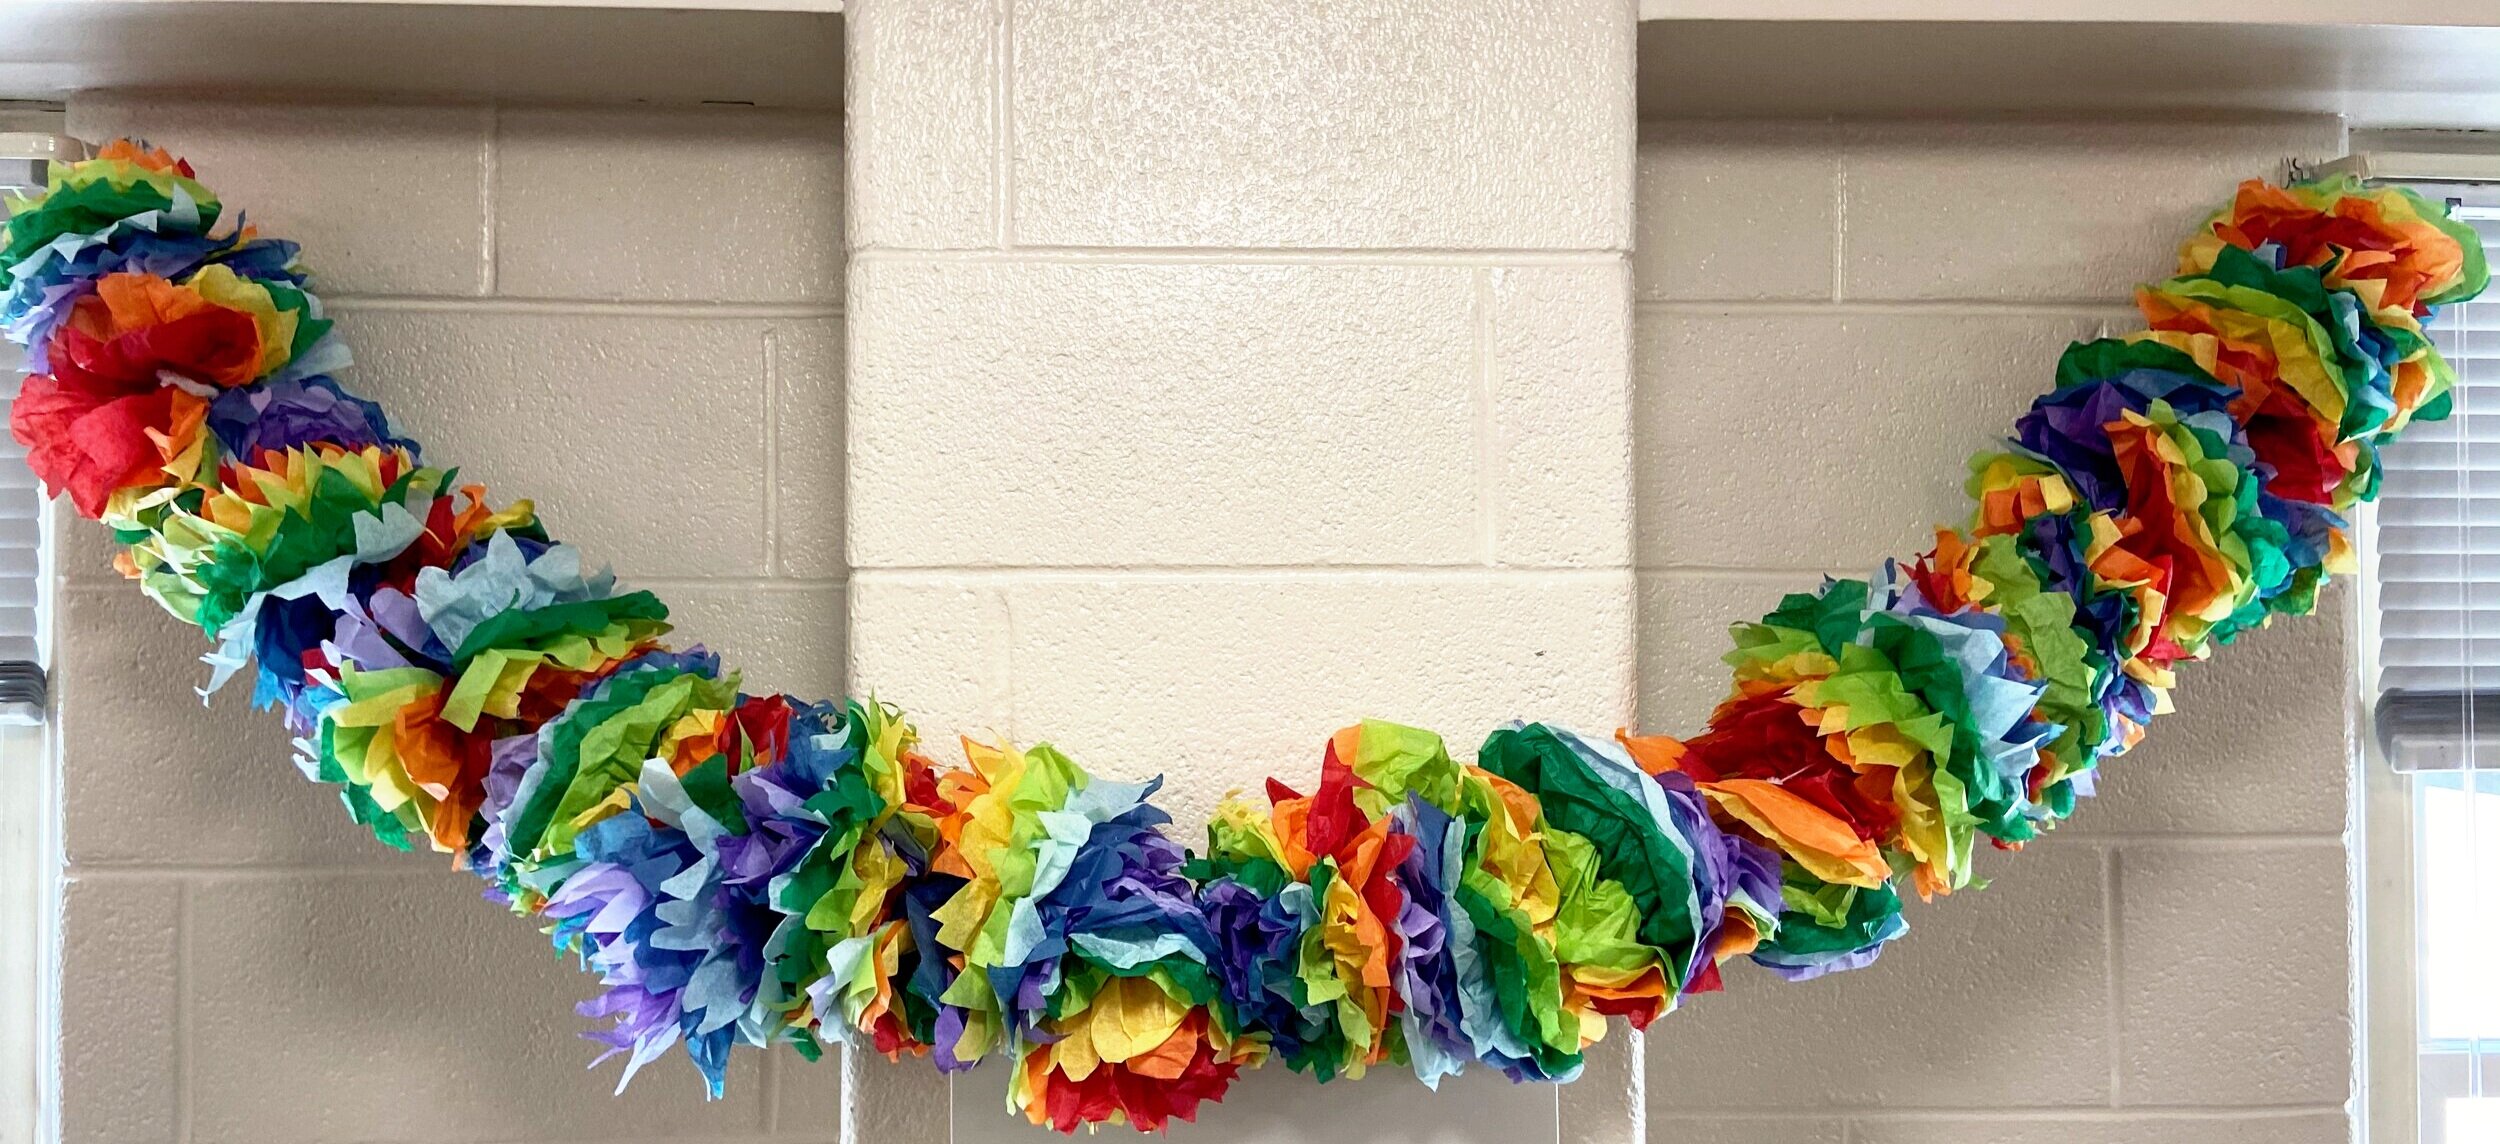
We loved these! After the event, I turned them into a rainbow garland for our youth room, which is cheery and welcoming.

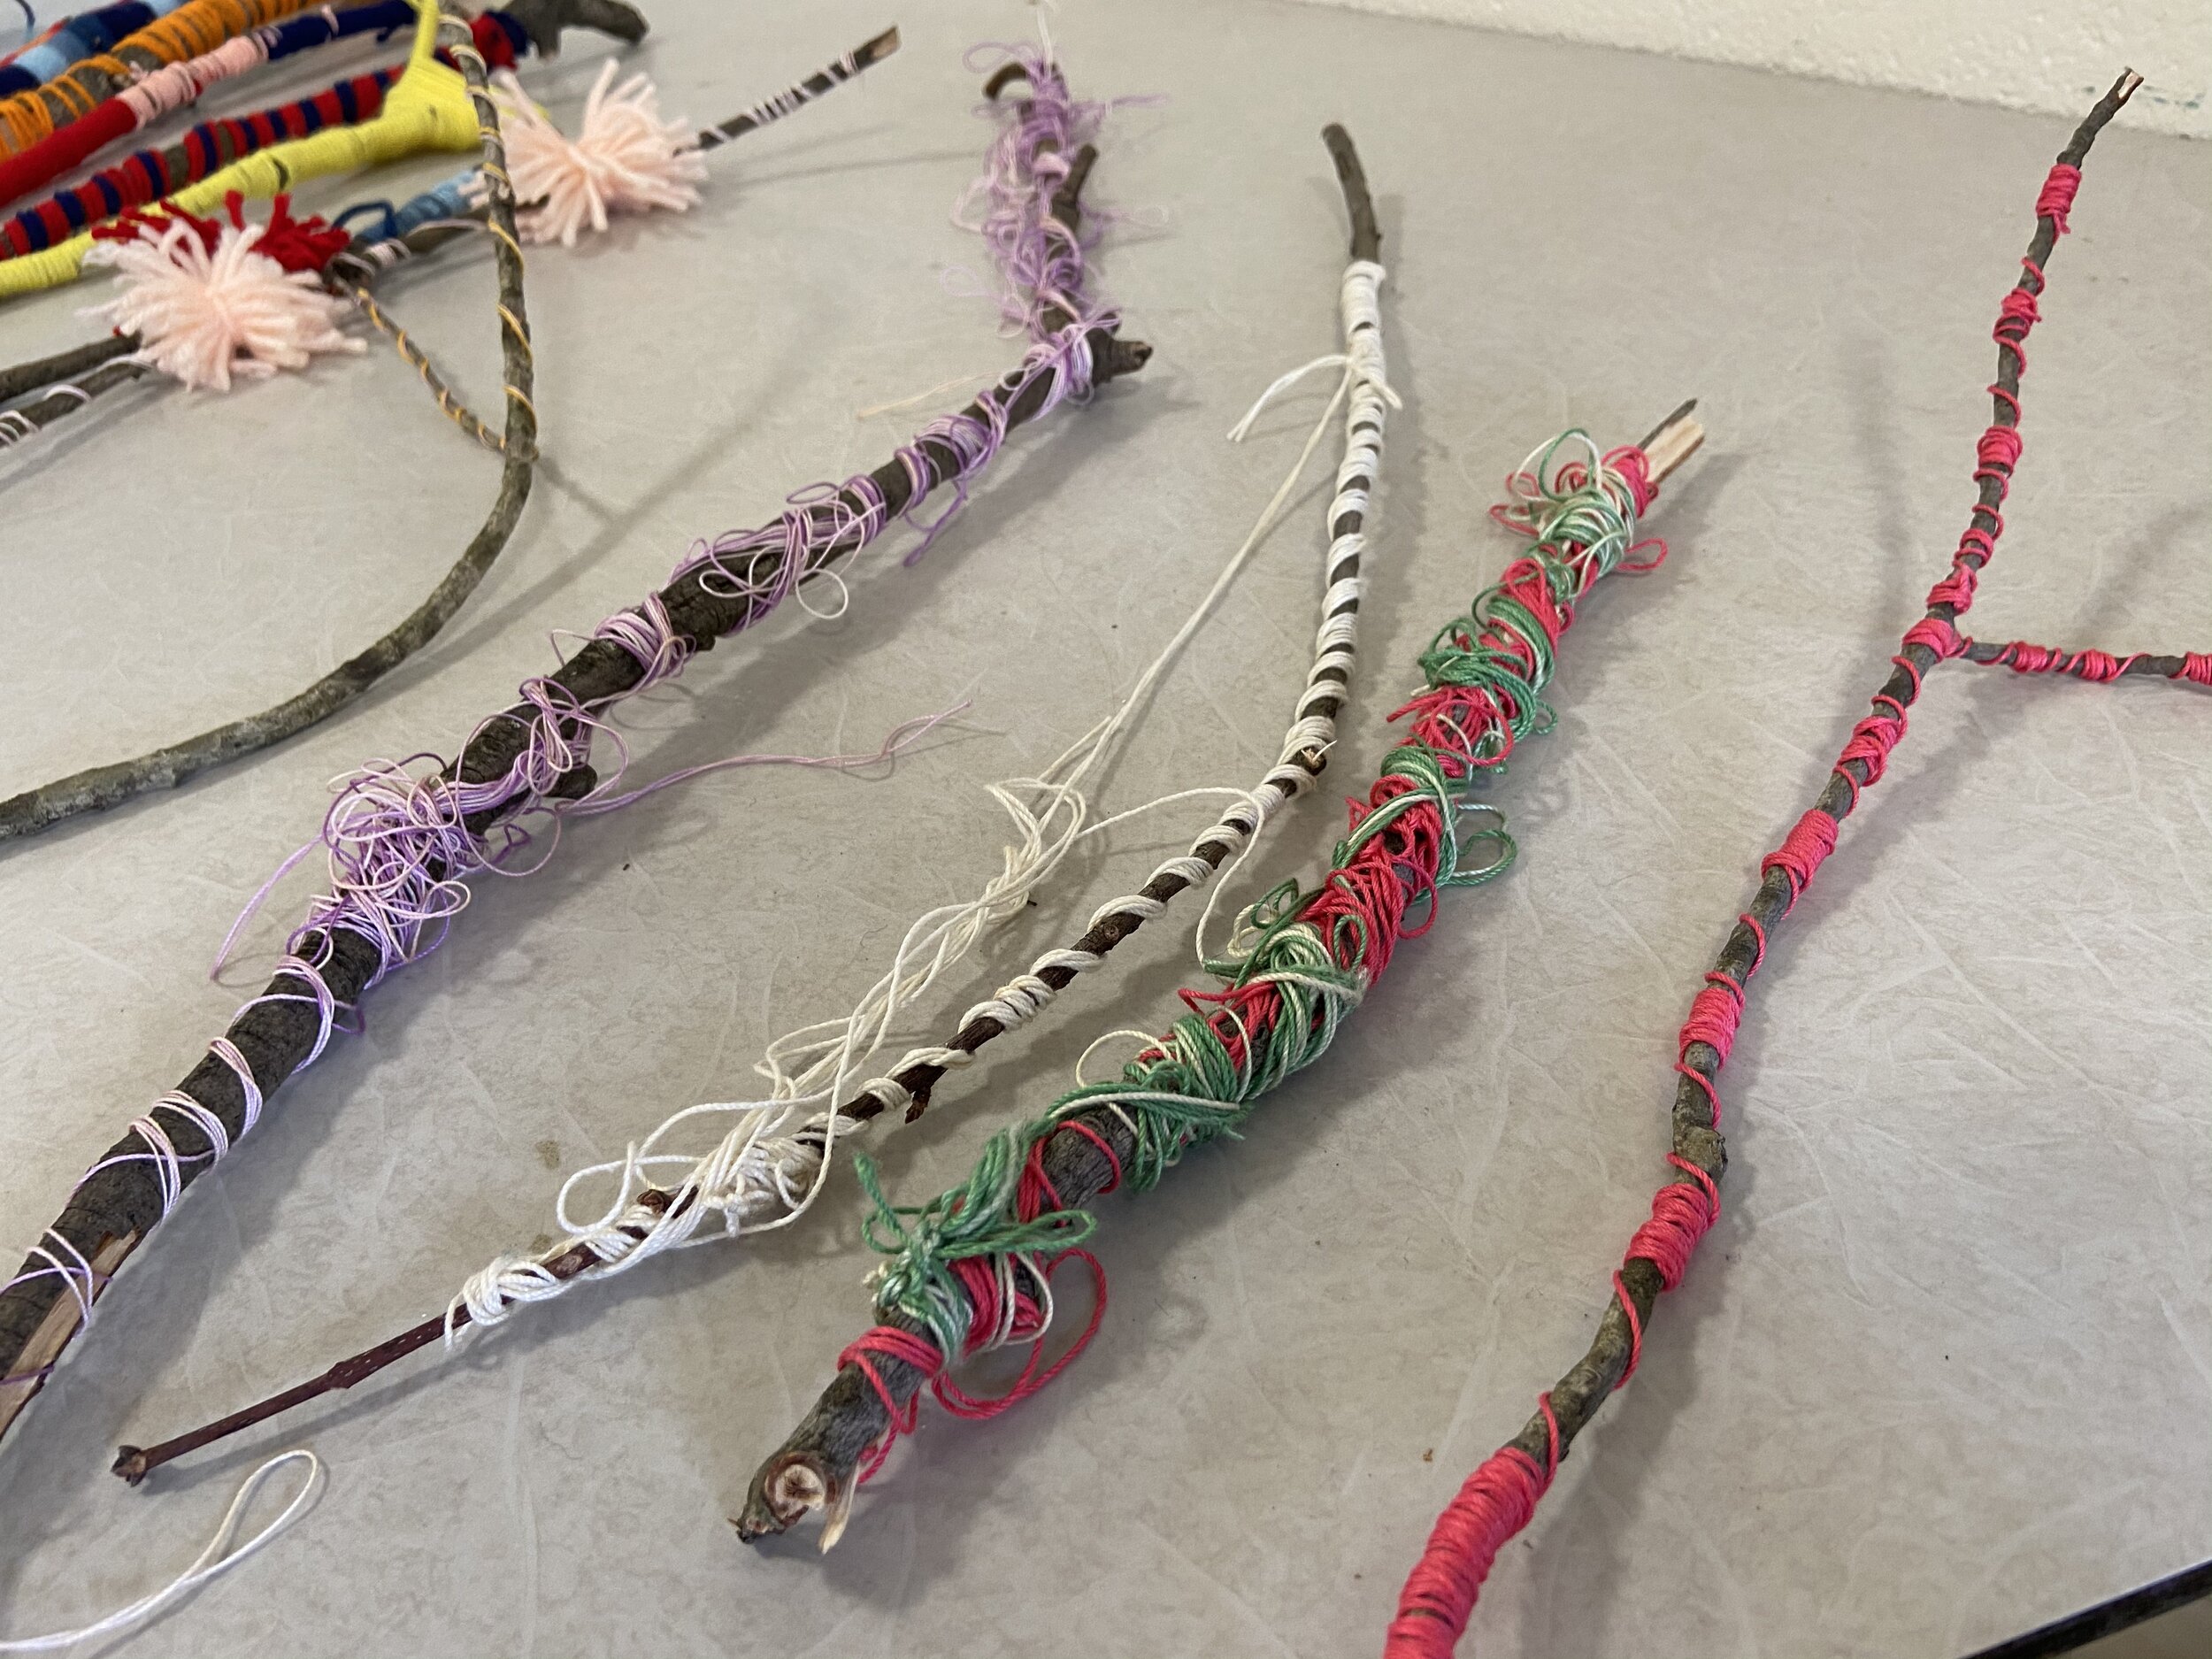
Yarn wrapped sticks
This is a super easy one but it does take a bit of time. All you need is gathered sticks that will fit well in whatever jars or vases you have, and a stash of yarn. I ask for yarn donations most years and the knitters in the congregation are happy to share. I recommend using relatively short pieces of yarn to keep it from getting tangled…unless that’s part of the desired look.

I really like mixing and matching the different textures of yarn/string and it was fun to see the different wrapping patterns that the kids came up with. The light-weight string added a messier element, which was actually kind of pretty, and we had some ambitious yarn pom pom creators too.We mixed and matched and added some non-wrapped sticks to each arrangement as well.

They’ve held up well and one of the folks at church who arranges flowers and greenery borrowed a stash of these to add to arrangements from time to time, which is fun! The kids love seeing their work pop up around the church 2 years later.
Do you have an free-ish DIY youth-group friendly centerpiece idea to share? I’d love to hear it!